
Kali Linux 設定その2
まずパッケージアップデート
terminal を起動し
apt update
でパッケージリストの更新
次に
apt-get upgrade
でインストール済みパッケージを更新
途中で postgresql の設定画面がでるが
q
を押して画面を抜ける
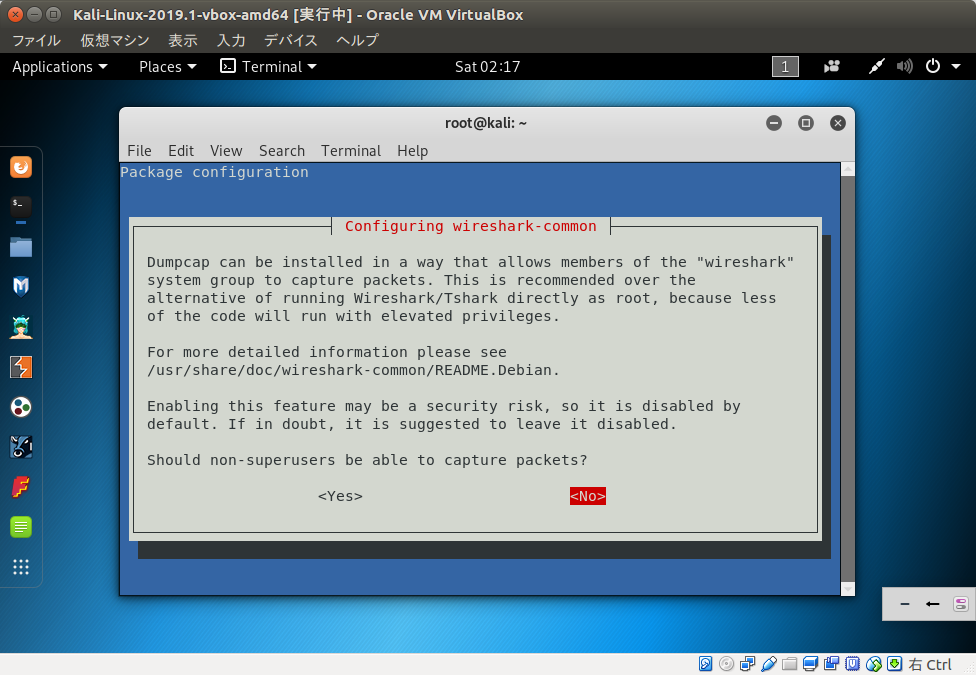
アップデート注に wireshark の設定がでてくる
│ Dumpcap can be installed in a way that allows members of the “wireshark” │
│ system group to capture packets. This is recommended over the │
│ alternative of running Wireshark/Tshark directly as root, because less │
│ of the code will run with elevated privileges. │
│ │
│ For more detailed information please see │
│ /usr/share/doc/wireshark-common/README.Debian. │
│ │
│ Enabling this feature may be a security risk, so it is disabled by │
│ default. If in doubt, it is suggested to leave it disabled. │
│ │
│ Should non-superusers be able to capture packets?
と書かれているが
これは root 以外のユーザでもキャプチャできるようにするか?
ということなので
No
を選択
次に root パスワードを変更
デフォルトは toor
このままだとリスクが高いため
passwd
で任意のパスワードへ変更
次に一般ユーザの作成とパスワード設定
useradd -m ユーザ名
というようにして
-m オプションをつけることで
新規ユーザのホームディレクトリも作成
useradd コマンドについては
Qiita のuseradd コマンド
を参考に
そのままだとパスワードを設定していないので
passwd ユーザ名
としてパスワードを設定
その後sudoコマンド権限を与え
ログインシェルを bash に設定
usermod -a -G sudo ユーザ名
chsh -s /bin/bash ユーザ名
SSH 接続関連の設定は
Kali Linux をリモート操作はしないので
今回は省略
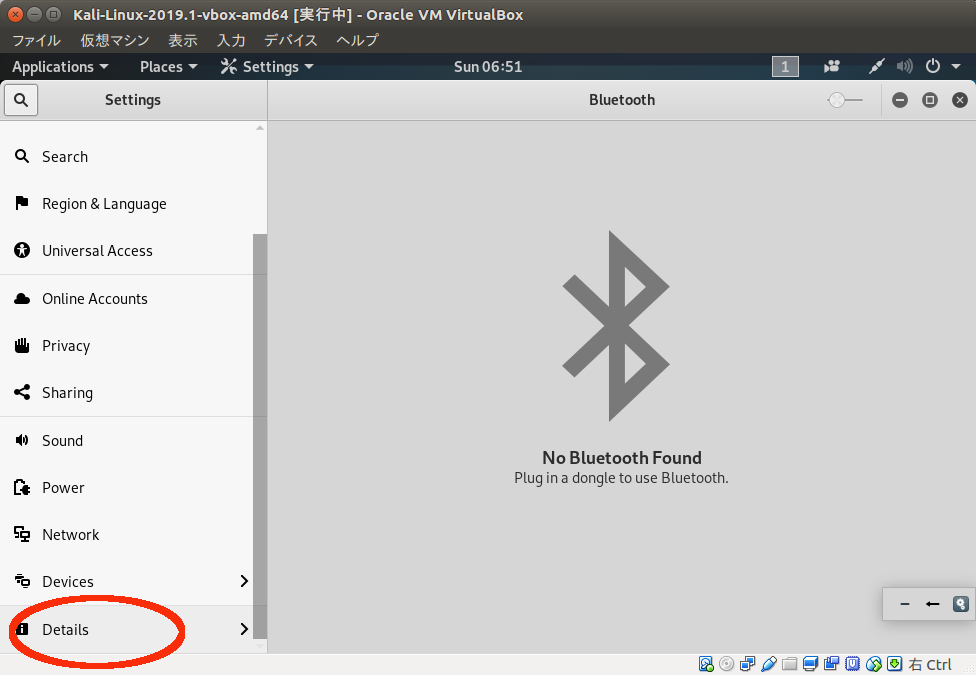
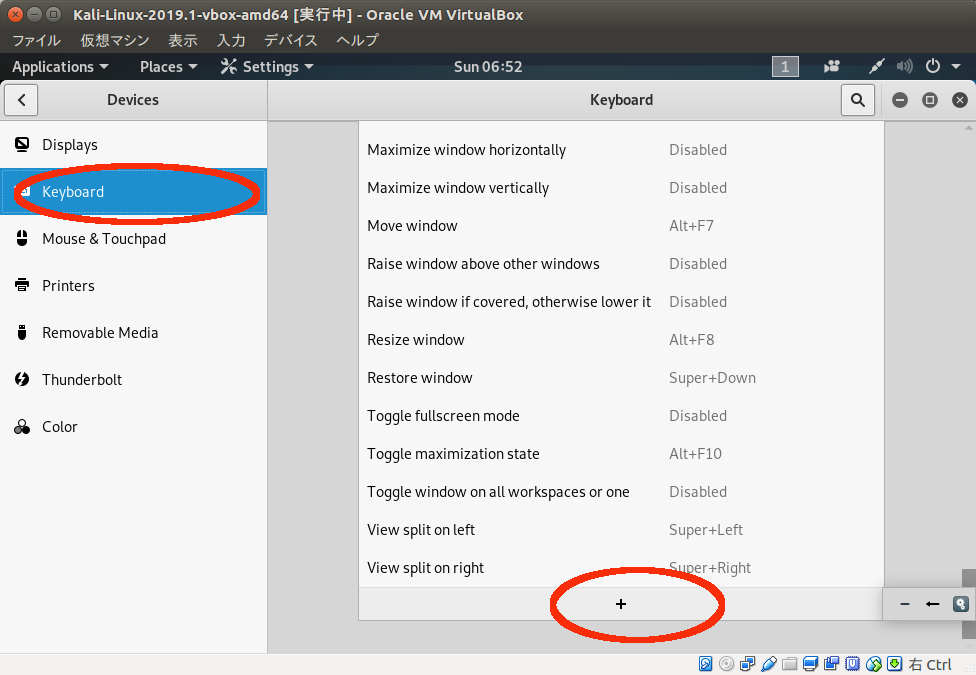
次にterminal をショートカットキーで起動できるよう設定
デスクトップから Settings アイコンをクリック

Devices をクリック
keybord をクリックし
右側を下へスクロールして + アイコンをクリック
Name に Launch Terminal
Command に gnome-terminal
として
Set Shortcut..
をクリック

これでショートカットキーにしたいキーを押せばOK
今回は
ctrl + Alt + t

これでキーの設定が表示されたら
Add をクリック
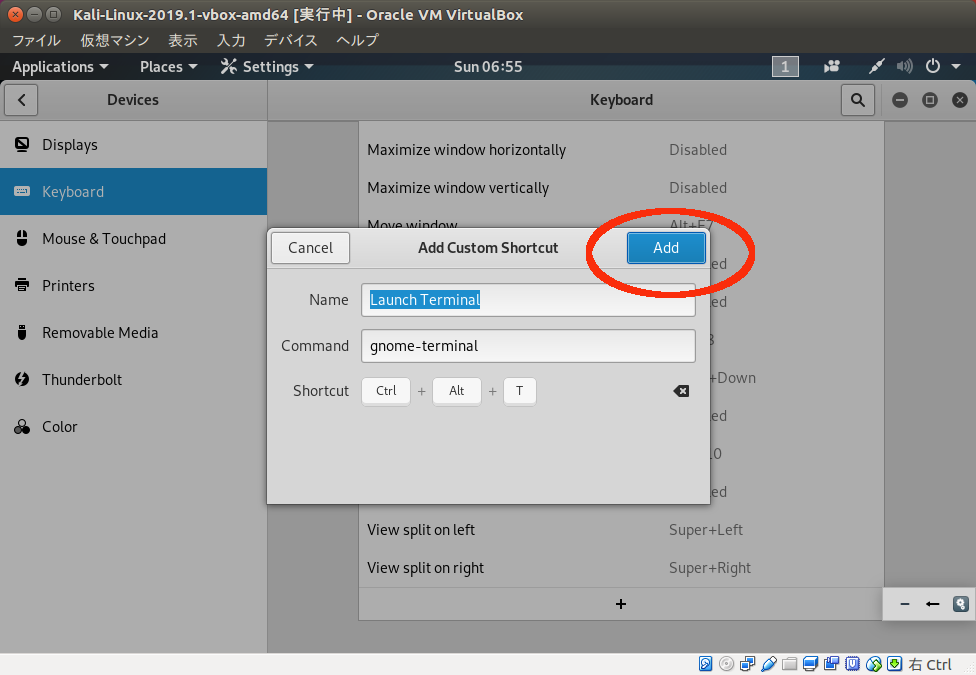
これで ctrl + alt + t で terminal が起動できるようになる
次に Terminal の拡張
これにより
タブや画面分割ができるようになり
キーボードだけでの操作が可能になる
apt install terminator -y
でインストールできる

コメント