home.php の編集
まず、home.php のソースを
header.php
footer.php から読み込むように書き換えます
まず一番上から
GridView のソースまえまでの
<!DOCTYPE html>
<html>
<head>
<meta charset="UTF-8" />
<meta name="viewport" content="width=device-width, initial-scale=1" />
<title>jQuery Mobile</title>
<link rel="stylesheet"
href="http://code.jquery.com/mobile/1.4.3/jquery.mobile-1.4.3.min.css" />
<script src="http://code.jquery.com/jquery-1.11.1.min.js"></script>

<script src="http://code.jquery.com/mobile/1.4.3/jquery.mobile-1.4.3.min.js">
</script>
<style>
  img.ic{
    width: 64px;
    height: 64px;
  }
</style>
</head>
<body>
<div data-role="page" data-title="jQuery Mobile">
<div data-role="header">
 <h1>jQuery Mobile</h1>
</div>
<div role="main" class="ui-content">
を削除します
代わりに
<?php get_header(); ?>
を書き込みます
次に、フッター部分もテンプレートに変えます
</div>
<div data-role="footer">
 フッター
</div>
</div>
</body>
</html>
を削除、代わりに
<?php get_footer(); ?>
を書き込みます
これで保存すると
フッター部分が変化しているのがわかります
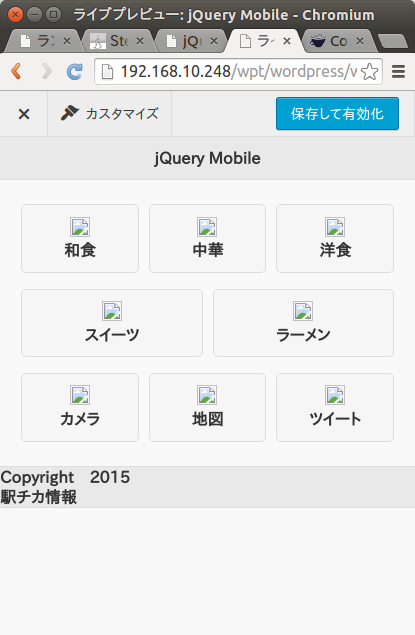
次に、画像が表示されていないので
画像を格納するフォルダを作ります
Ubuntu などの Linux なら
mkdir img
で作成できます
このフォルダへ画像をコピーします
Mac なら Cyberduck などでアップロードすることもできます
私の場合、すでに別のフォルダにあるものを
cp コマンドでコピーしました
cd img/
cp /var/www/html/wpt/icon/*.png .
. は現在のディレクトリを示します
*.png はすべての .png ファイルを意味します
そして、後は画像へのパスを変更します
<img src="icon/wa.png"
となっている部分を
wordpress のテンプレに変えます
テンプレまでのパスは
get_template_directory_uri()
で取得できるので、
“icon/wa.png”
の部分を書き換えます
ファイル名はそのままですが、格納しているフォルダも違うので
これもまとめて変えます
PHP では echo で結果を出力できるので
パスを
<?php echo get_template_directory_uri(); ?>
とすれば取得できます
しかし、今回は対象となるものが
<div class="ui-grid-b">
  <div class="ui-block-a">

    <a class="ui-btn ui-corner-all" href="sweet.html"><img src="icon/wa.png" alt="" class="ic"><br>和食</a>
  </div>
  <div class="ui-block-b">
    <a class="ui-btn ui-corner-all" href="sweet.html"><img src="icon/chu.png" alt="" class="ic"><br>中華</a>
  </div>
  <div class="ui-block-c">
    <a class="ui-btn ui-corner-all" href="sweet.html"><img src="icon/yo.png" alt="" class="ic"><br>洋食</a>
  </div>
</div>

<!-- 2行目 -->
<div class="ui-grid-a">
  <div class="ui-block-a">
    <a class="ui-btn ui-corner-all" href="sweet.html"><img src="icon/cake.png" alt="" class="ic"><br>スイーツ</a>
  </div>

  <div class="ui-block-b">
    <a class="ui-btn ui-corner-all" href="sweet.html"><img src="icon/ramen.png" alt="" class="ic"><br>ラーメン</a>
  </div>
</div>

<!-- 3行目 -->
<div class="ui-grid-b">
  <div class="ui-block-a">
    <a class="ui-btn ui-corner-all" href="sweet.html"><img src="icon/camera.png" alt="" class="ic"><br>カメラ</a>
  </div>
  <div class="ui-block-b">
    <a class="ui-btn ui-corner-all" href="sweet.html"><img src="icon/map.png" alt="" class="ic"><br>地図</a>
  </div>
  <div class="ui-block-c">
    <a class="ui-btn ui-corner-all" href="sweet.html"><img src="icon/tweet.png" alt="" class="ic"><br>ツイート</a>
  </div>
</div>
となっていて全部手打ちでやるのは大変ですし
ミスタイプで処理するのも面倒です
今回はvim の置き換えを使います
このため、一度
cd -
で1つ前のディレクトリに移動します
次に
vim home.php
でファイルを開き
:%s/icon\//<?php echo get_template_directory_uri\(\); \?>\/img\//g
とすることで
該当する場所をすべて置き換えることができます
もし、失敗してしまっても
:u
とすることで1つ前に戻すことができます
これで画像が表示されます
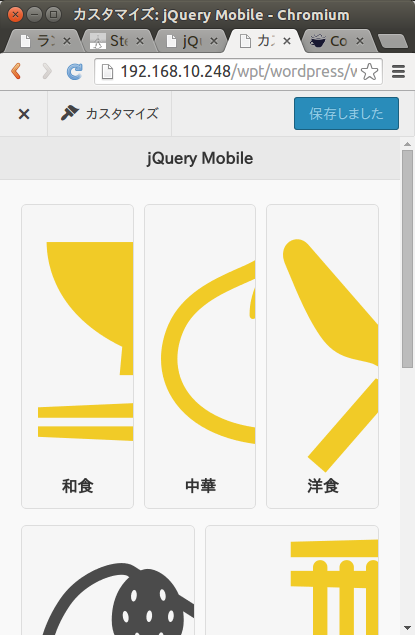
が、大きすぎるので
CSSで設定をします
style.css を開き
  img.ic{
    width: 64px;
    height: 64px;
  }
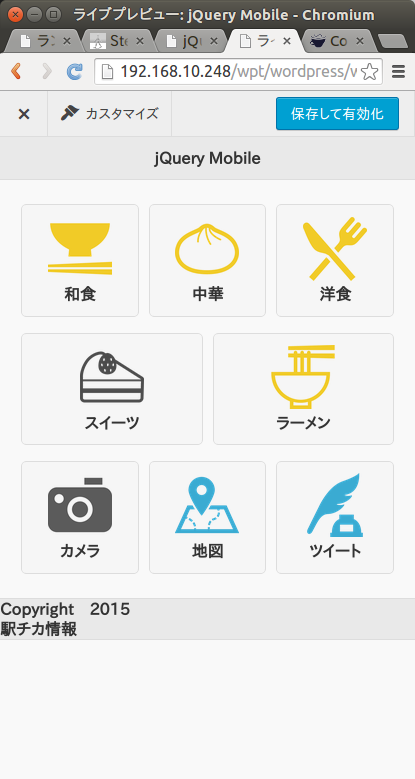
を追記して保存します
これで程よい大きさになります
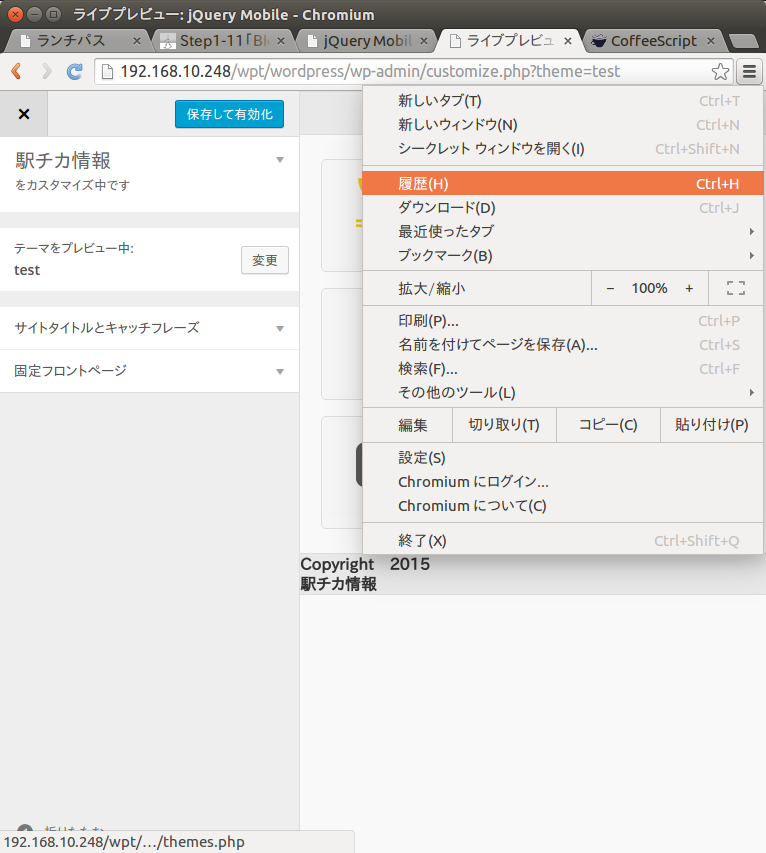
これで設定が反映されるはずですが
chrome を使っていると、反映されないときがあります
そんなときには
右上のメニューの履歴を開き、
閲覧履歴データの消去を行います
これで再度プレビューすると設定反映が確認できます
この修正方法については
【WordPress】CSS修正したけど反映されないときに確認すべきこと
を参考にさせていただきました
今回の編集したコードは home.php が
<?php get_header(); ?>

<!-- 1行目 -->
<div class="ui-grid-b">
  <div class="ui-block-a">

    <a class="ui-btn ui-corner-all" href="sweet.html"><img src="<?php echo get_template_directory_uri(); ?>/img/wa.png" alt="" class="ic"><br>和食</a>
  </div>
  <div class="ui-block-b">
    <a class="ui-btn ui-corner-all" href="sweet.html"><img src="<?php echo get_template_directory_uri(); ?>/img/chu.png" alt="" class="ic"><br>中華</a>
  </div>
  <div class="ui-block-c">
    <a class="ui-btn ui-corner-all" href="sweet.html"><img src="<?php echo get_template_directory_uri(); ?>/img/yo.png" alt="" class="ic"><br>洋食</a>
  </div>
</div>

<!-- 2行目 -->
<div class="ui-grid-a">
  <div class="ui-block-a">
    <a class="ui-btn ui-corner-all" href="sweet.html"><img src="<?php echo get_template_directory_uri(); ?>/img/cake.png" alt="" class="ic"><br>スイーツ</a>
  </div>

  <div class="ui-block-b">
    <a class="ui-btn ui-corner-all" href="sweet.html"><img src="<?php echo get_template_directory_uri(); ?>/img/ramen.png" alt="" class="ic"><br>ラーメン</a>
  </div>
</div>

<!-- 3行目 -->
<div class="ui-grid-b">
  <div class="ui-block-a">
    <a class="ui-btn ui-corner-all" href="sweet.html"><img src="<?php echo get_template_directory_uri(); ?>/img/camera.png" alt="" class="ic"><br>カメラ</a>
  </div>
  <div class="ui-block-b">
    <a class="ui-btn ui-corner-all" href="sweet.html"><img src="<?php echo get_template_directory_uri(); ?>/img/map.png" alt="" class="ic"><br>地図</a>
  </div>
  <div class="ui-block-c">
    <a class="ui-btn ui-corner-all" href="sweet.html"><img src="<?php echo get_template_directory_uri(); ?>/img/tweet.png" alt="" class="ic"><br>ツイート</a>
  </div>
</div>
<?php get_footer(); ?>
style.css が
/*
Theme Name: test
Theme URI: http://example.com/
Description: jquey theme test
Author: Gen snowpool
Author URI: http://example.com/
Version: 1.0

*/
img.ic{
  width: 64px;
  height: 64px;
}
となっています
次回からタイトルの変更、投稿テンプレの作成にとりかかります

コメント