Nessus のインストール
Hacker Japan (ハッカー ジャパン) 2013年 05月号 [雑誌]
を参考に
BT5R3 へ Nessus のインストール
必要なもの
ネット環境
レジスターコードを受けとるメルアド
これらが用意できているなら
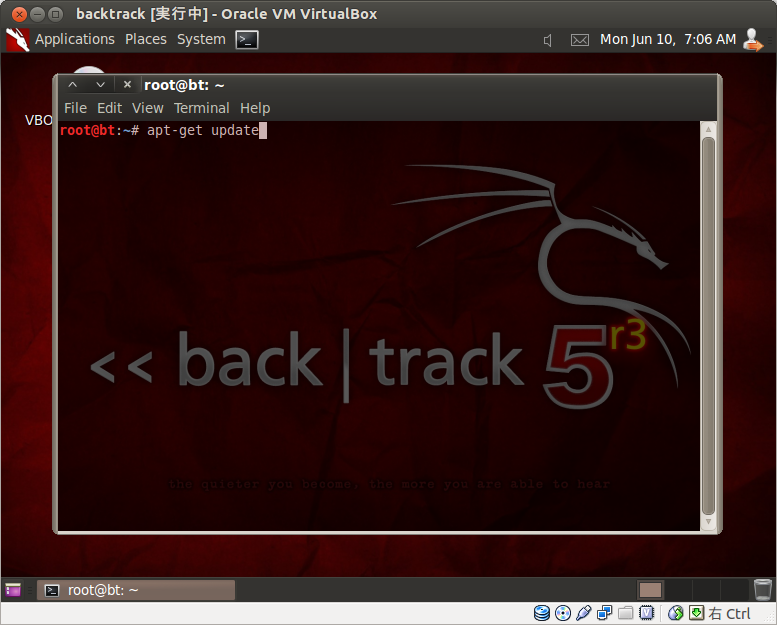
Ctrl + Alt + t で端末を開いて
apt-get update
で
レポジトリ更新
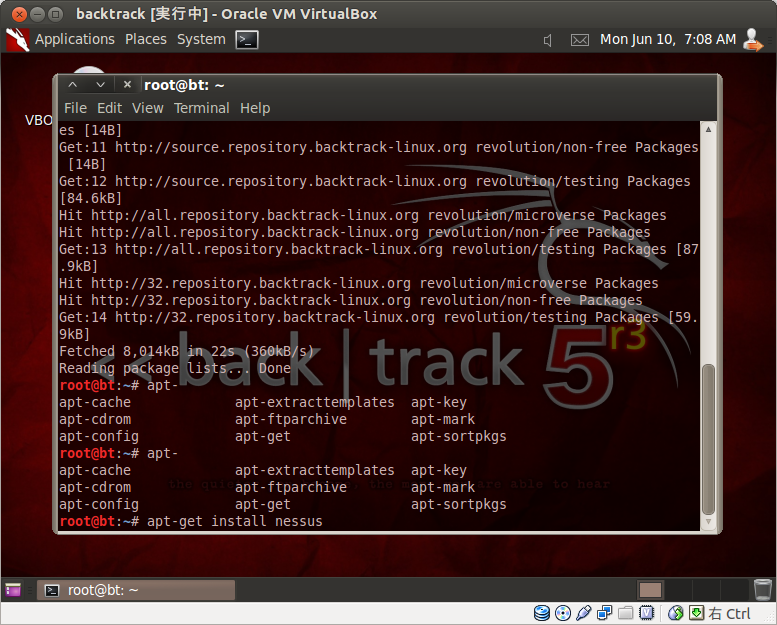
次に
apt-get install nessus
で
Nessus のインストール
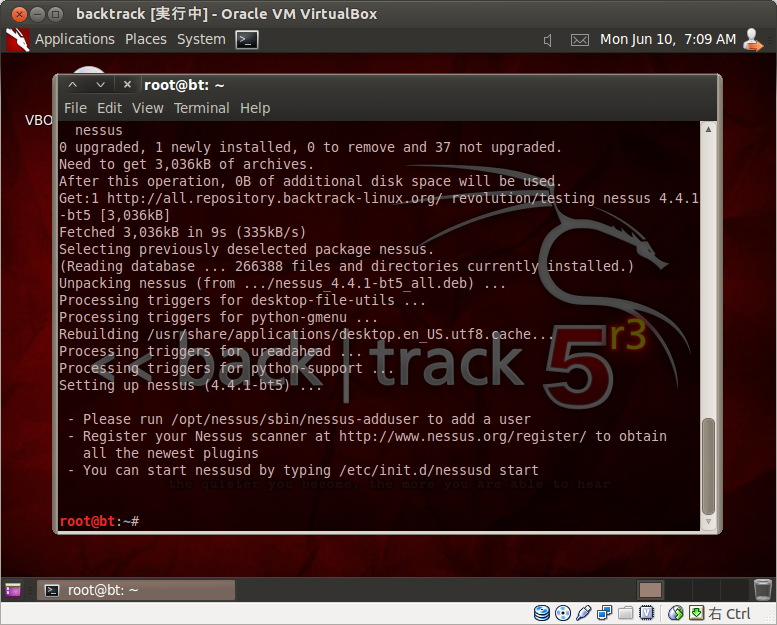
インストール完了後
– Please run /opt/nessus/sbin/nessus-adduser to add a user
– Register your Nessus scanner at http://www.nessus.org/register/ to obtain
all the newest plugins
– You can start nessusd by typing /etc/init.d/nessusd start
と表示されているので
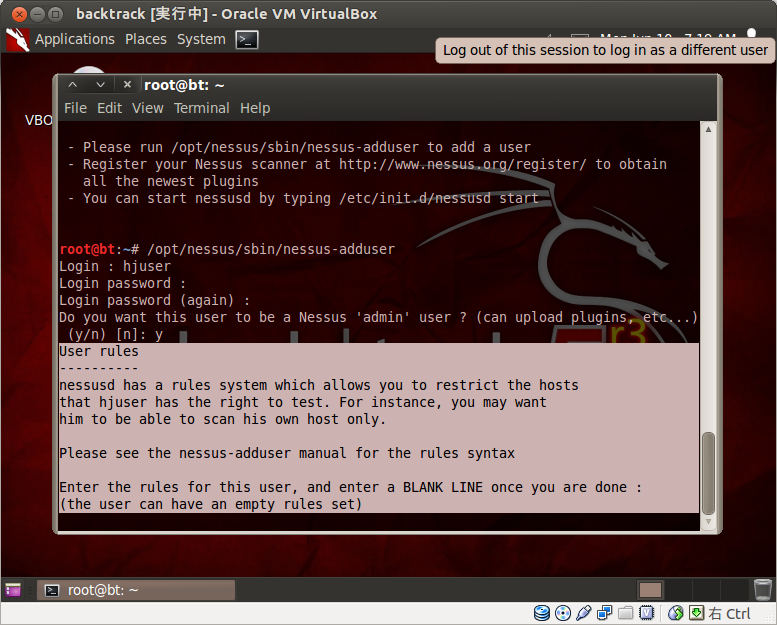
/opt/nessus/sbin/nessus-adduser
を実行すると
Login
のところにログインユーザを作成して
Login password
にはログインパスワードを入力
今回は、書籍通りに
hjuser をユーザとして
パスワードは任意のものにした
Do you want this user to be a Nessus ‘admin’ user ? (can upload plugins, etc…) (y/n) [n]:
と聞かれるので
y
として Enter
User rules
----------
nessusd has a rules system which allows you to restrict the hosts
that hjuser has the right to test. For instance, you may want
him to be able to scan his own host only.
Please see the nessus-adduser manual for the rules syntax
Enter the rules for this user, and enter a BLANK LINE once you are done :
(the user can have an empty rules set)
とでるので、これも Enter
すると、確認画面がでてくる
Login : hjuser
Password : ***********
This user will have ‘admin’ privileges within the Nessus server
Rules :
Is that ok ? (y/n) [y]
これでよければ
y
を押す
これで、ユーザの追加が完了
続いて、
アクティベーションコードの入力
これには
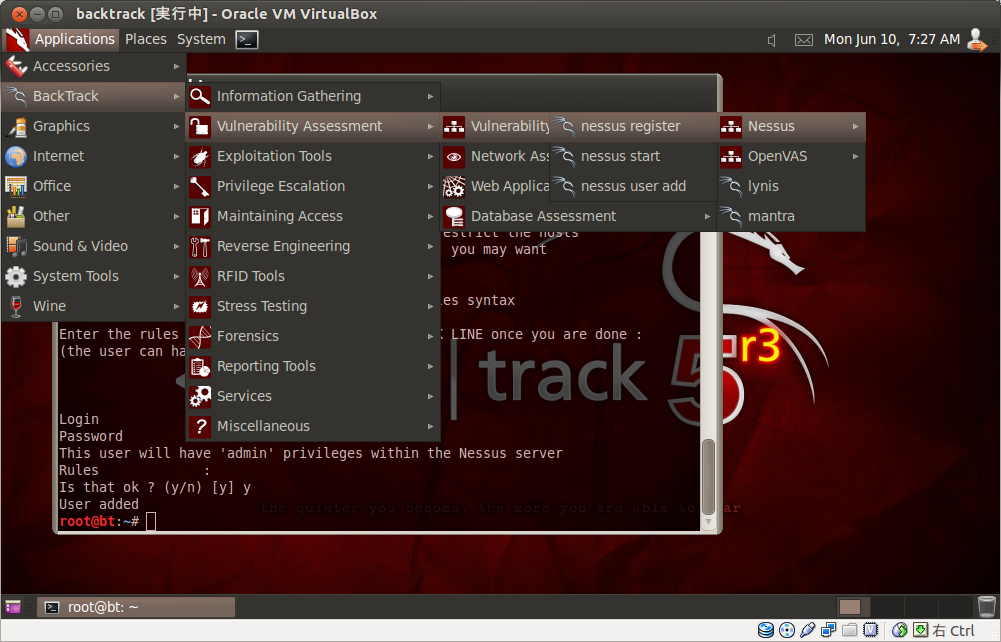
Applications > BackTrack >
Vulnerability Assessment > Vulnerability Scanners >
Nessus > nessus register
で起動
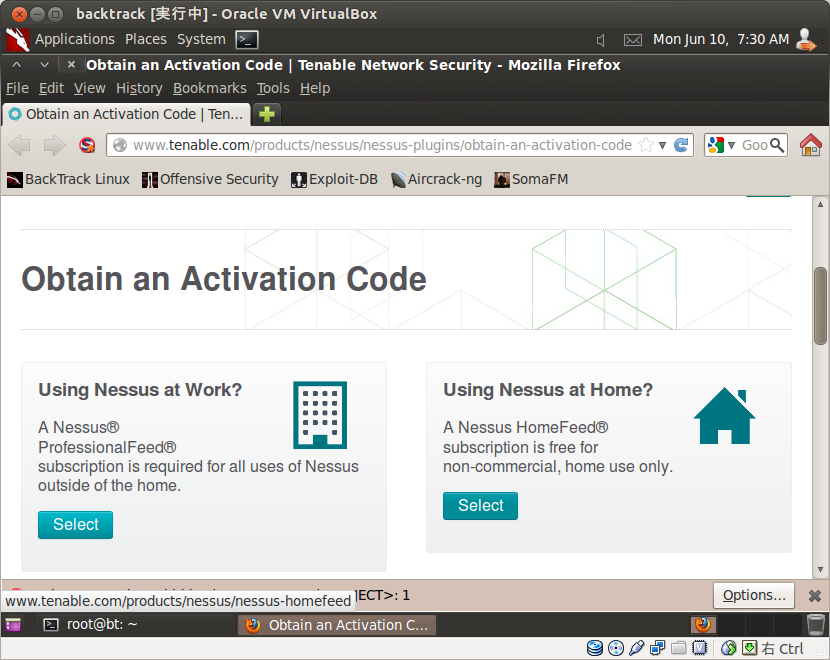
これで、Activation Code の画面にとべるので
Using Nessus at Home
のほうの
Select をクリック
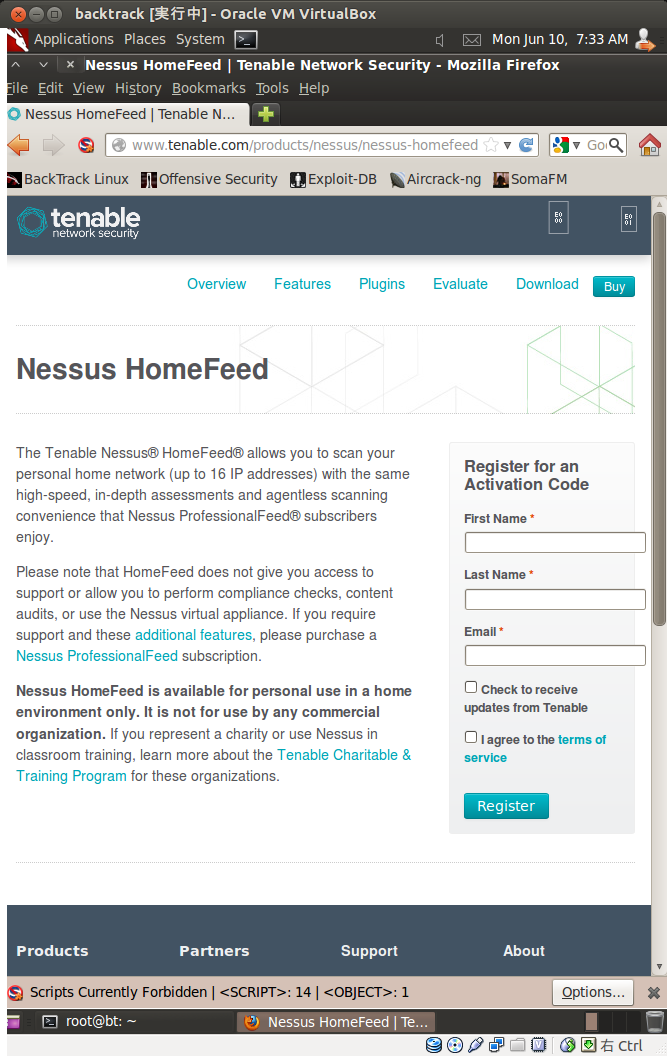
これで登録画面になるので
First Name
Last Name
Email
を入力し
I agree to the terms of service
にチェックをいれて
Register をクリック
Check to receive updates from Tenable
にチェック入れておくと
Tenable社からの更新を受信するようになる
登録できると
Tenable HomeFeed Activation Code
という件名でメールが届く
登録には Gmail でもOK
メール内の
Your activation code for the Nessus HomeFeed is
の下あたりに
アクティベートコードがあるので
これを使う
コードが入手できたら
次に
端末に戻り
nessus-fetch –register アクティベートコード
を入力
Your activation code has been registered properly – thank you.
Now fetching the newest plugin set from plugins.nessus.org…
となるので少し待つ
Your Nessus installation is now up-to-date.
If auto_update is set to ‘yes’ in nessusd.conf, Nessus will
update the plugins by itself.
とでれば完了
起動するには
/etc/init.d/nessusd start
で
Nessus を起動できる
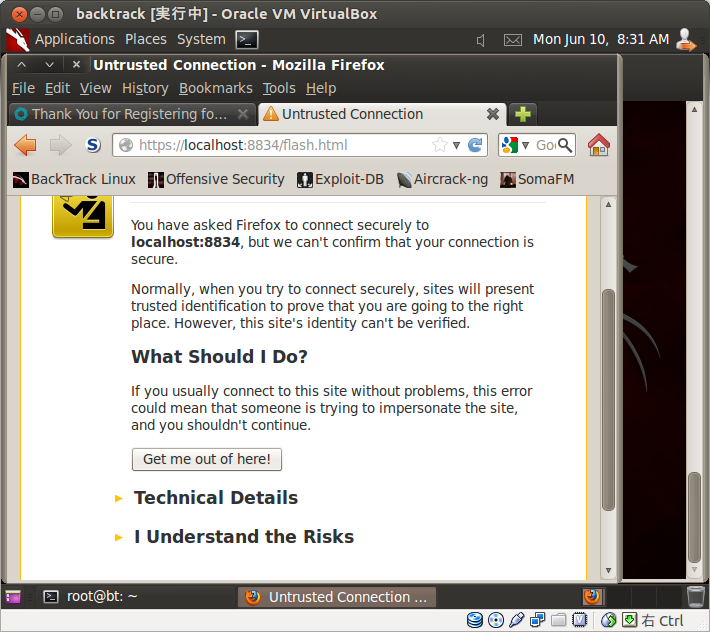
ここまでできたら
ブラウザ(firefox )で
https://localhost:8834/flash.html
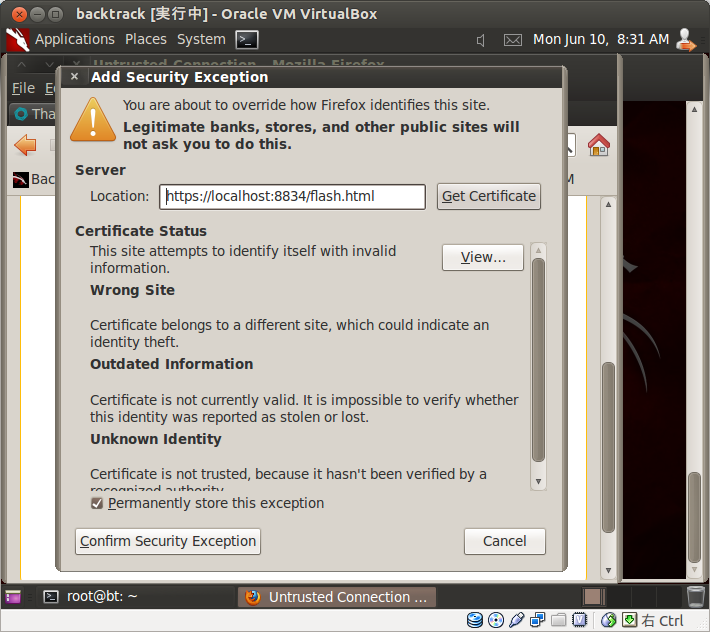
自己証明書なので警告がでるけど
I Understand the Risks をクリックし
Confirm Security Exception
をクリック
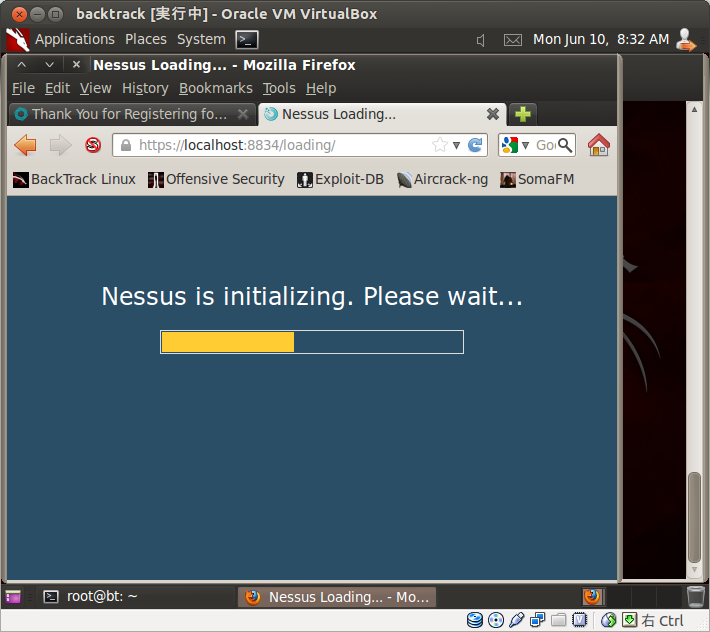
これで Nessus のインストール画面になるので
少し待つ
flash が必要なので画面をクリックすると
Temporarily allow https://localhost:8834/NessusClient.swf
(application/x-shockwave-flash